If youre looking for a sourdough starter recipe youre in the right place In this guide well walk you through the process of making your own sourdough starter from scratch using simple ingredients
The origin of sourdough starter dates back to ancient times long before the invention of commercial yeast In fact sourdough is one of the oldest methods of leavening bread Over the centuries it has spread across the globe becoming especially popular in both Europe and the United States While making sourdough at home might seem intimidating its actually a simple rewarding process
The reason people are so fond of sourdough starter is not just its delicious end result but also the fact that it allows for a connection with a time honored tradition Theres something incredibly satisfying about nurturing your own starter and seeing it come to life ready to bake into a loaf of bread that’s far better than anything you can buy in a store Whether youre baking for the first time or a seasoned baker learning how to make a sourdough starter is an essential skill that will bring incredible flavor and texture to your bread
So if youve ever wondered how to create your own sourdough starter from scratch you’re in the right place. This simple step by step guide will show you exactly how to prepare a sourdough starter that’s ready for all your baking adventures Lets dive into the process and start creating your own homemade sourdough starter today
Ingredients for Your Sourdough Starter Recipe
Making your own sourdough starter at home requires just a few simple ingredients The beauty of this recipe lies in its minimalism theres no need for commercial yeast or fancy additives Just flour water and time Below are the key ingredients for a basic sourdough starter along with some helpful substitutions if youre looking for something different or have dietary restrictions
- Whole wheat flour 100 grams can substitute with rye flour for a more robust starter or gluten free flour like rice flour or sorghum for a gluten free version
- Water 100 ml filtered water is best to avoid any chlorine that could affect the fermentation process
- All purpose flour 100 grams can also be replaced with gluten free flour such as oat or brown rice flour
Step by Step Guide to Making Sourdough Starter from Scratch
- Gluten Free Option For those who need a gluten free starter you can substitute both the whole wheat flour and all purpose flour with gluten free flours like rice flour sorghum flour or brown rice flour These will work perfectly though they may require a little more time to activate compared to traditional flours
- Vegan Option The recipe is naturally vegan as it only calls for flour and water No animal based products are required in this recipe
Tips for Choosing Quality Ingredients
- Flour: Choose organic unbleached flour if possible. Organic flour tends to have higher levels of wild yeast which is crucial for a healthy starter.
- Water: Always use filtered water. Chlorine in tap water can inhibit yeast growth so make sure to use water thats free from chemicals.
How to Prepare Your Homemade Sourdough Starter
Making a sourdough starter is a simple rewarding process, but it requires patience and consistency. Dont worry while it may take several days the steps are straightforward and each day brings you closer to the tangy flavorful starter you’ll use in your sourdough bread. Heres how to get started:
Step 1: Mixing the Initial Ingredients
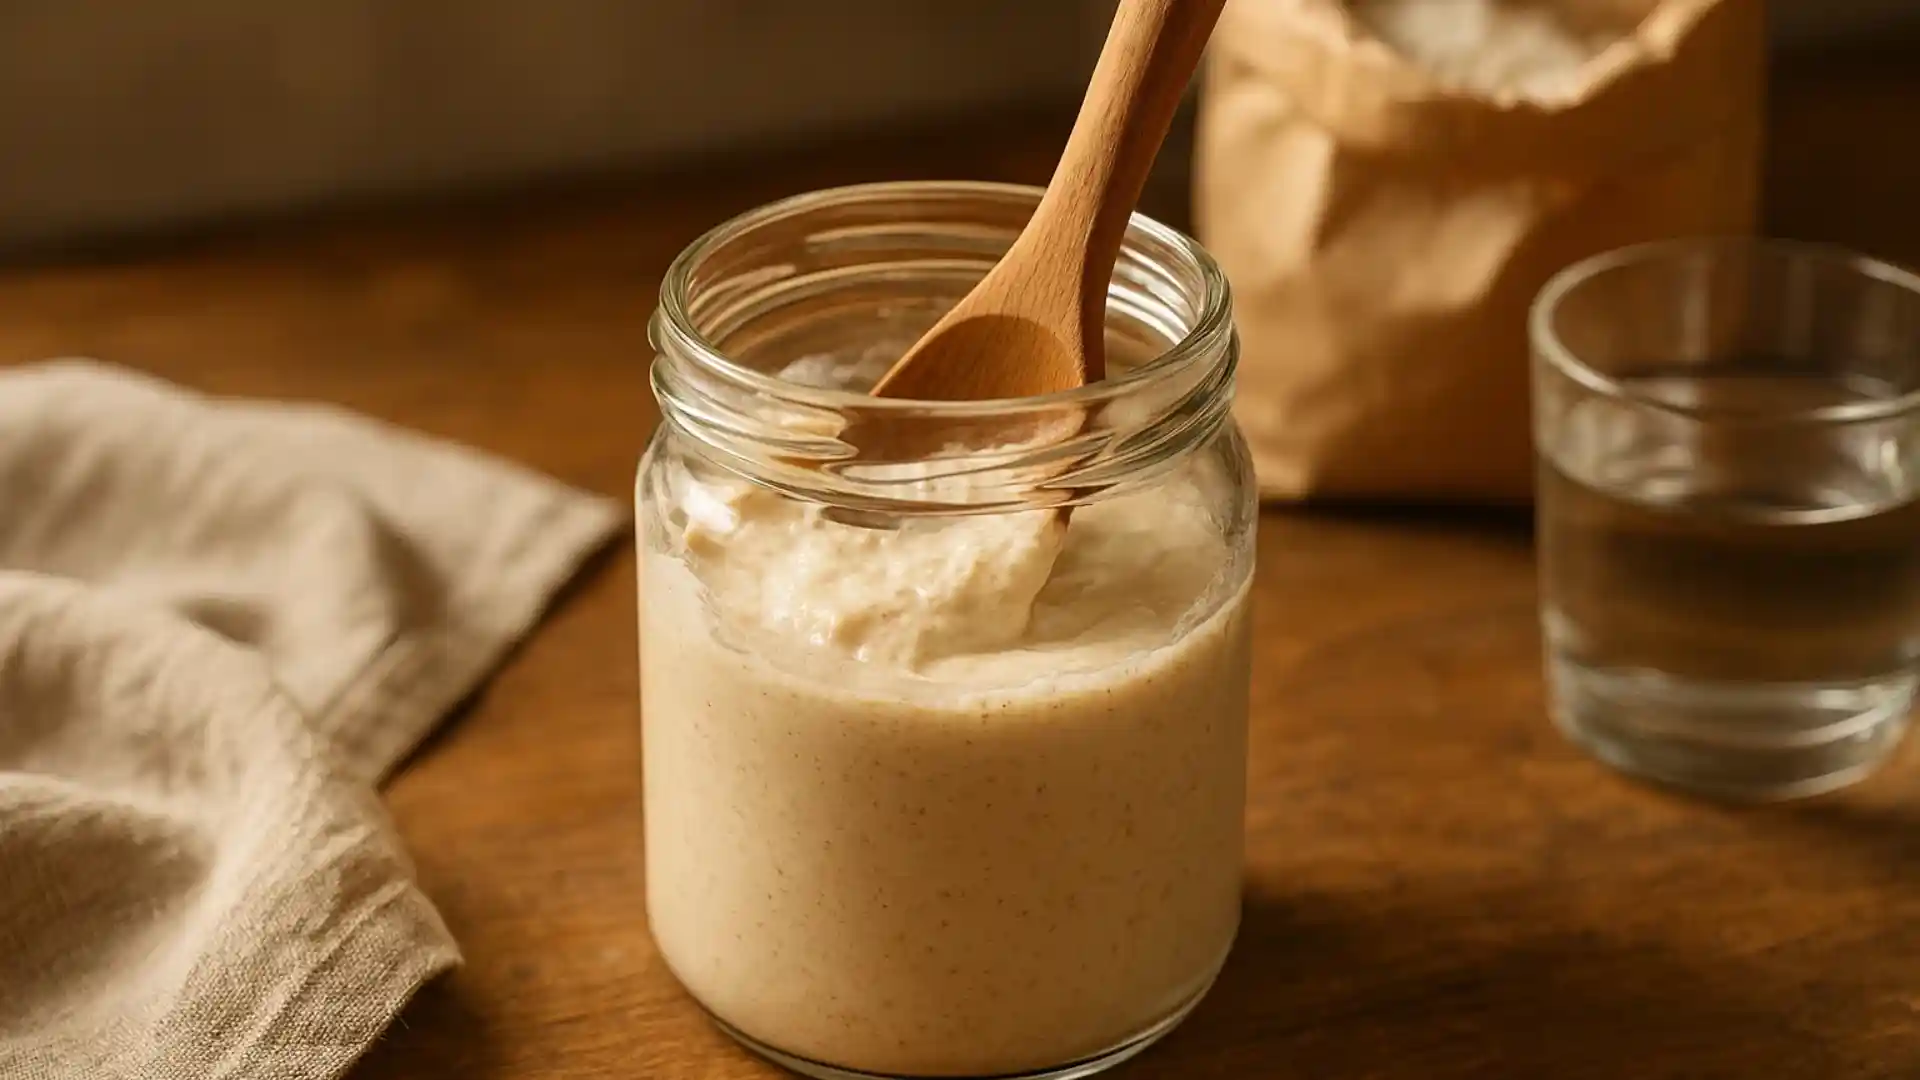
- In a clean glass jar combine 100 grams of whole wheat flour and 100 ml of water. Stir the mixture well ensuring there are no dry pockets of flour left.
- Cover the jar loosely with a cloth or paper towel. This allows the natural yeast and bacteria in the air to settle into the mixture while still letting air flow in.
- Set the jar in a warm draft free area of your kitchen. Ideal temperature: around 70°F 21°C. The warmer the faster the fermentation but avoid anything too hot as it can kill the yeast.
Step 2: First Feeding 24 Hours Later
- After 24 hours you may not see much activity yet but that’s okay! You should notice a few bubbles forming.
- Discard about half of the mixture around 100 grams. This may seem wasteful but it’s important to keep your starter balanced and manageable. Then add 100 grams of all purpose flour and 100 ml of water. Stir again and cover loosely.
- Let it sit for another 24 hours.
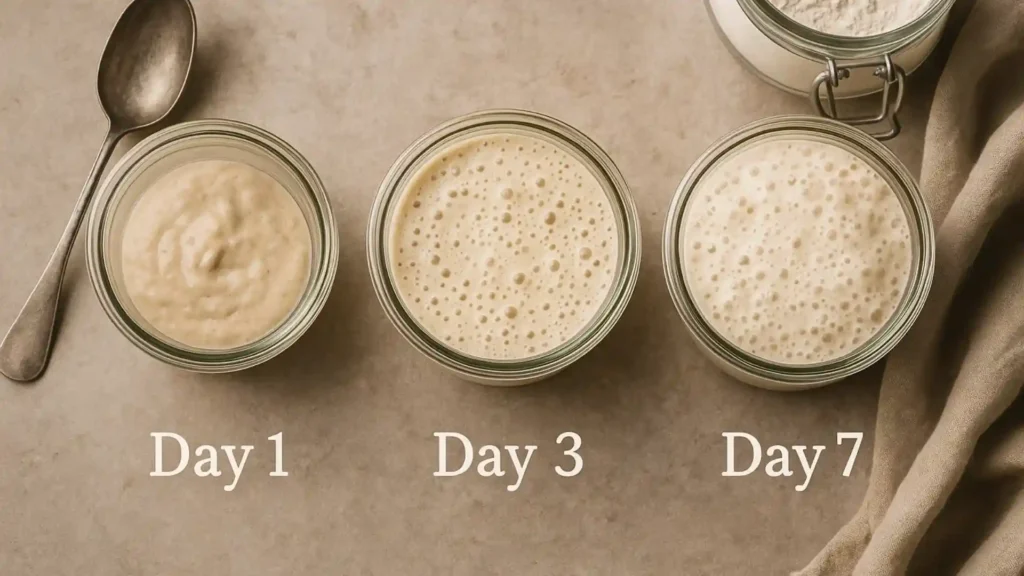
Step 3: Daily Feedings Days 2-5
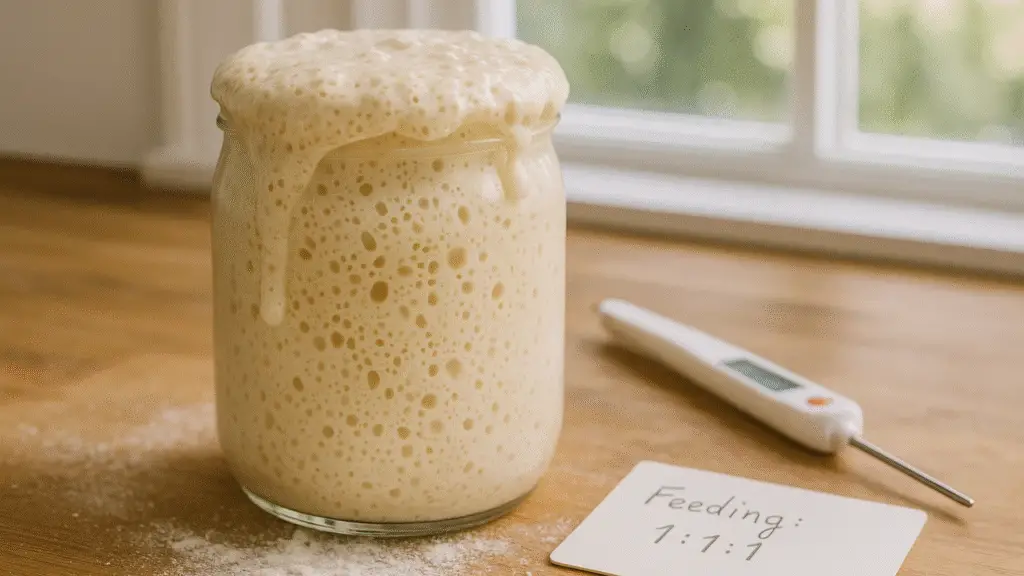
- Continue the feeding process every day for the next 4–5 days. Discard half of the starter each time and replace it with equal parts water and flour 100 grams each. By now you should notice more bubbles and a pleasant slightly sour smell.
- The starter should start to rise and fall in the jar as it ferments. After a few days it will begin to smell even more tangy this means the wild yeast and bacteria are thriving!
Step 4: Starter Is Ready Day 6-7
- After about 5–7 days of regular feedings your sourdough starter should be ready to use. It will have a bubbly airy texture and a tangy smell. When you drop a spoonful of starter into a glass of water it should float which is a sign that it’s fully activated and ready for baking.
Pro Tips:
- Don’t rush it: The starter may take a little longer to develop especially in cooler environments. Patience is key!
- Feeding schedule: If you’re unable to feed your starter daily you can refrigerate it and feed it once a week. Just make sure to bring it back to room temperature before using it in your recipes.
- Using it for baking: To use the starter for your sourdough bread simply take the amount needed for your recipe and set it aside. If you have extra you can either discard it or save it for future batches of bread.
Easy Tips and Variations for Your Sourdough Starter Recipe
Now that you’ve got your sourdough starter underway you may want to experiment with different flavors and techniques to personalize your starter or adapt it to your specific needs. Here are a few tips and variations that will help you refine your starter and create the perfect sourdough bread:
How to Change the Flavor
- Add a little fruit: If you want to give your starter a slightly fruity flavor try adding a small amount of unsweetened applesauce or a couple of tablespoons of pureed fruit, like grapes or pineapple on the first day. These can provide extra sugars to feed the wild yeast and can introduce unique flavors into your starter.
- Experiment with different flours: While we’ve used whole wheat and all purpose flour in the basic recipe you can experiment with other flours like rye or spelt for a more complex flavor profile. Rye flour in particular tends to be very active in encouraging yeast growth which can speed up the fermentation process.
How to Suit Different Dietary Needs
- Gluten Free Starter: If you follow a gluten free diet you can use a combination of gluten free flours like rice flour sorghum flour or oat flour. Keep in mind that gluten free starters might take a little longer to develop but they will still yield a delicious sourdough bread once theyre ready.
- Low Carb/Keto: For those following a low-carb or keto diet traditional sourdough starters aren’t suitable because they rely on flour for fermentation. However there are some keto friendly bread starters made with coconut flour or almond flour though they may require different preparation methods.
Creative Ideas for Serving and Storing
- Make sourdough pancakes or waffles: If you have extra starter that you don’t want to throw away try using it to make sourdough pancakes or sourdough waffles. The tangy flavor translates beautifully into breakfast treats!
- Sourdough crackers: Use discard from your starter to make crispy flavorful sourdough crackers. Just mix your starter discard with flour roll it out thin add seasonings and bake until golden and crunchy.
How to Store Your Sourdough Starter
- Room Temperature: If you’re baking regularly you can keep your starter at room temperature and feed it daily. This method encourages more active fermentation and ensures that your starter is always ready for baking.
- Refrigeration: If you bake less frequently you can store your starter in the fridge. Just remember to feed it once a week and allow it to come to room temperature before using it in recipes.
- Long Term Storage: If you want to take a break from baking or don’t need your starter for a while you can dry it out and store it in an airtight container. To revive it simply add water and flour and let it ferment for a few days.
Understanding the Importance of a Sourdough Starter Recipe
While the sourdough starter itself is primarily used as a base for your bread its helpful to know the nutritional values to understand what you’re adding to your recipes. Here’s a breakdown of the typical nutritional content for each serving of your homemade sourdough starter. Keep in mind that these values are approximate and can vary depending on the flour used and the specific ratios:
- Calories: 50–70 kcal
- Fat: 0 g
- Protein: 2 g
- Carbohydrates: 10–12 g
- Fiber: 1–2 g
Health Benefits:
- High in Fiber: If you use whole wheat or rye flour in your starter you’ll benefit from increased fiber content which aids in digestion and supports a healthy gut.
- Natural Fermentation: The natural fermentation process of sourdough can enhance the bioavailability of nutrients in the flour. For example sourdough contains lactic acid which can help your body absorb minerals like calcium and magnesium more effectively.
- Lower Glycemic Index: Sourdough bread made with a proper starter tends to have a lower glycemic index than bread made with commercial yeast. This means it won’t spike your blood sugar as quickly making it a good option for those managing their blood sugar levels.
Common Problems with Sourdough Starters and How to Fix Them
Making a sourdough starter can be a fun and rewarding experience but it’s not uncommon to run into a few bumps along the way. Here are some of the most common issues people face when creating their starter along with solutions to help you get back on track:
1. No Bubbles or Activity
Issue: If your starter isn’t bubbling or showing signs of fermentation after a few days it might seem like something went wrong.
Solution:
- Check the temperature: Yeast and bacteria thrive in warmer temperatures. Ensure your starter is kept in a warm but not hot place ideally between 70°F and 75°F 21°C–24°C. If it’s too cold your starter will take longer to develop. Consider placing your jar near a heater or in a warm draft free area.
- Use fresh flour: Sometimes older flour can have reduced yeast content. Try using a fresh batch of flour particularly whole wheat or rye, which is known to kickstart fermentation more easily.
- Patience: If you dont see immediate activity don’t worry. It can take 4–7 days for your starter to become active depending on the environment.
2. Starter Has a Strange Smell
Issue: Your starter might develop a foul or overly strong smell which can make you question whether it’s safe to use.
Solution:
- Unpleasant sour smell: A mildly sour smell is normal and expected from fermentation but if it’s overly strong or smells like rotten this could indicate contamination. In that case start over with fresh flour and water and make sure your jar is thoroughly clean before beginning.
- Acidity or alcohol smell: Sometimes if the starter hasn’t been fed enough it can develop a strong alcoholic smell like acetone. This is often a sign that it’s hungry. Simply discard half of the mixture and feed it again with fresh flour and water.
- Contamination: Make sure your utensils and jars are clean before each feeding to avoid introducing any unwanted bacteria.
3. Starter Is Too Runny or Too Thick
Issue: If your starter is too runny or too thick it might not ferment properly.
Solution:
- Adjust the consistency: The starter should be thick enough to stir but not so thick that it doesn’t move easily. If it’s too runny, reduce the amount of water slightly at the next feeding. If it’s too thick add a little extra water. A good rule of thumb is a 1:1 ratio of flour to water by weight.
4. Mold Growing on Top
Issue: Occasionally mold can grow on the top of your sourdough starter. This typically happens if the starter has been exposed to air or the jar wasn’t properly covered.
Solution:
- Remove mold and discard the top layer: If you notice mold scrape off the moldy layer and discard the entire top section of the starter. The rest of the starter may still be usable but it’s important to ensure you remove all traces of mold.
- Better covering: Make sure your jar is loosely covered with a clean cloth allowing airflow while keeping dust and debris out. Consider switching to a lid with small holes to prevent direct exposure to the air while still allowing fermentation to occur.
5. Starter Is Not Rising or Falling as Expected
Issue: Your starter should rise and fall with each feeding. If it’s not doing this your starter may need more attention.
Solution:
- Increase feedings: If your starter isn’t rising or falling it could be due to a lack of nourishment. Try feeding it more frequently especially if you’re keeping it at room temperature.
- Use stronger flours: If your starter isn’t rising well you may want to try switching to rye or whole wheat flour which have more nutrients to encourage yeast activity.
Frequently Asked Questions About Sourdough Starter Recipes
1. Can I replace the flour with something else?
Yes absolutely! You can replace the whole wheat or all-purpose flour with gluten-free flours like rice flour sorghum flour or oat flour. Keep in mind that gluten free starters might take longer to develop but they will still ferment and work well in gluten free sourdough bread recipes.
2. Can I use tap water for my sourdough starter?
It’s best to use filtered water to avoid any chemicals especially chlorine found in tap water. Chlorine can inhibit the growth of the natural yeasts and bacteria needed for fermentation. If you have no choice but to use tap water let it sit out overnight to allow chlorine to dissipate.
3. Can I make a sourdough starter without whole wheat flour?
Whole wheat flour is recommended because it contains more nutrients that help jumpstart the fermentation process. However, you can substitute it with rye flour or even spelt flour. If you’re going for a fully gluten-free starter, you can try using a mixture of gluten free flours though this may take a bit more time to become active.
4. How long does it take for a sourdough starter to be ready?
Typically it takes about 5–7 days for a sourdough starter to be fully active and ready to use. The time may vary depending on your environment such as temperature and humidity. Be patient it can take longer in cooler temperatures.
5. Can I store my sourdough starter in the fridge?
Yes if you’re not baking daily you can store your starter in the fridge. When refrigerated it will go dormant and only need to be fed once a week. To use it for baking bring it to room temperature and feed it once or twice before using it in your recipe.
6. How do I know when my sourdough starter is ready to bake with?
Your starter is ready when it has a bubbly texture a pleasant sour smell and doubles in size within a few hours of feeding. You can also perform the float test take a small spoonful of the starter and drop it into a glass of water. If it floats it’s active and ready for baking!
7. Can I freeze my sourdough starter for later use?
Yes you can freeze your sourdough starter for long term storage. To freeze it spread a thin layer of starter on a parchment paper lined tray let it dry completely and store it in an airtight container. To revive it just add water and flour and follow the same feeding process until it becomes bubbly and active again.
8. What should I do if my starter is too acidic or sour?
If your starter is too sour it may be over fermenting. To balance the flavor try feeding it more frequently and discarding more of the mixture before feeding. You can also give your starter a refresh by discarding half of it and adding fresh flour and water which can help mellow out the acidity.
Conclusion: Start Baking with Your Sourdough Starter Recipe Today
Now that you’ve learned how to create your very own sourdough starter you’re one step closer to baking delicious homemade sourdough bread. Whether you’re new to sourdough or an experienced baker making your own starter is a rewarding and enjoyable process. With just a few simple ingredients and a little patience you can create a starter that will provide endless opportunities for creating fresh flavorful bread.
Don’t forget the key to a successful sourdough starter is consistency. Feed it regularly monitor its activity and be patient as it develops its unique tangy flavor. Once it’s ready the possibilities are endless from creating traditional sourdough bread to experimenting with pancakes, waffles, and even crackers made from your starter discard.
We hope this guide has helped you feel confident in your sourdough journey. If you’re looking for more delicious recipes to try check out our easy Gluten-Free Sourdough Bread Recipe and our classic Easy Sourdough Bread Recipe for some fantastic bread making ideas!
We’d love to hear about your sourdough starter experience! If you’ve tried this recipe leave a comment below to share your tips and feedback. If you have any questions feel free to ask we’re always happy to help.
Happy baking and don’t forget to tag us in your creations!